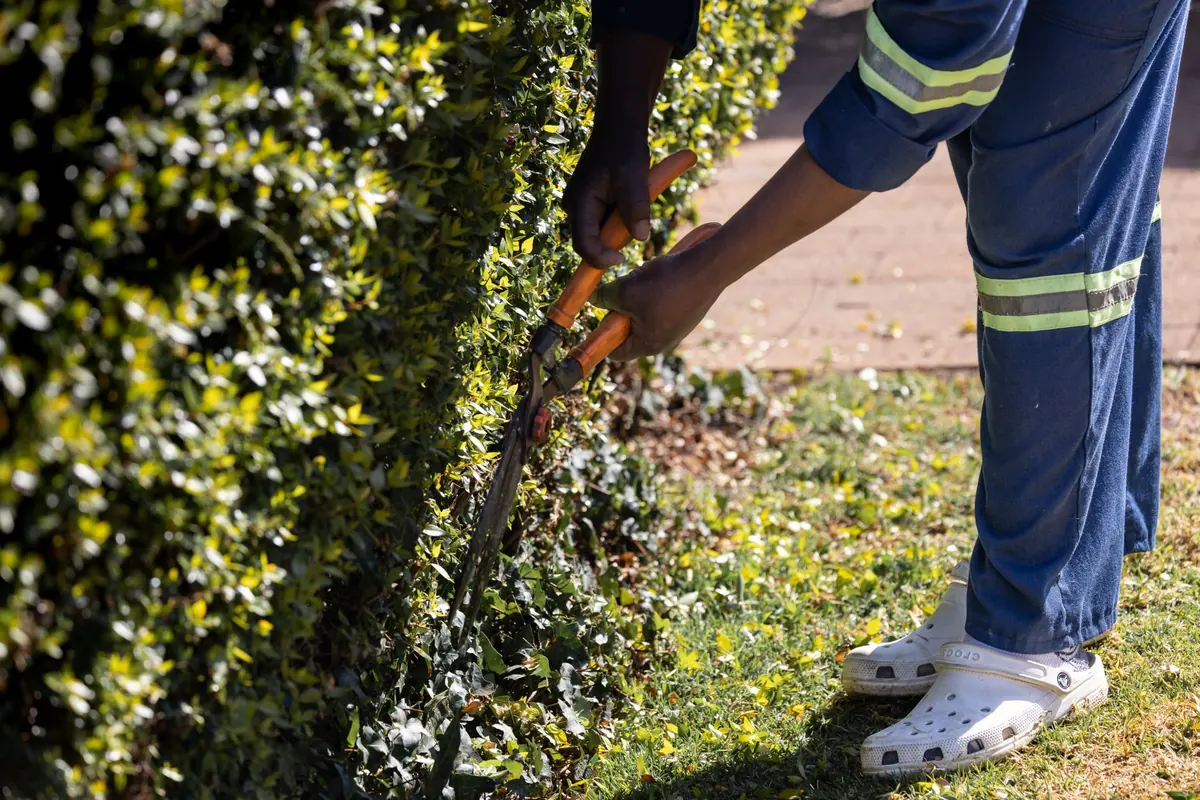
An old garden asks for a different kind of photograph. Not the quick frame shot between two gates, but the slower look at how a box hedge has been clipped into the same curve for two centuries, or the way lichen has mapped a stone bench into a small atlas. These are the details that make a place worth the trip, and they are almost always the details most easily damaged: a mossy step, a crumbling stucco wall, a drift of self-seeded violets where gravel meets soil. A camera gives you a reason to look closely. It also gives you a reason to be careful.
What follows is a working checklist, the sort of thing worth reading the night before a visit and skimming again at the gate.
Read the light before you read the garden
Stone in full midday sun goes chalky and flat. Carving loses its depth, pale travertine blows out to white, and the shadows that tell you a capital is Corinthian rather than composite simply disappear. If you have any choice in the matter, arrive at opening time or come back in the last two hours before closing, when the light rakes across walls and picks out every chipped edge.
Overcast days are underrated. For close work — an inscription, a carved leaf, the crust of lichen on a parapet — an even sky gives you detail without the contrast problem, and you can photograph a north-facing wall at eleven in the morning without fighting it. If you are stuck with hard midday light, work in the shade of hedges, look for the shadow side of walls, and save the open parterre for another visit.
A note on flash and reflectors
Flash flattens stone and can distract other visitors, so use it sparingly. Never set up a reflector or a diffuser in a way that blocks a path or leans against a wall. If the surface you want to photograph is fragile, the answer is usually patience and a longer exposure, not more equipment.
Walk the garden once without the camera
Do a full lap with the camera in the bag. Notice where the ground is soft after rain, where gravel has migrated off the path, where stone steps have worn into a concave dip that holds moisture and stays slippery. Look for irrigation heads at bed edges, newly planted borders, pots of citrus on a terrace, low kerbs you would not see through a viewfinder.
By the end of that lap you should know three or four places you can safely stand, and you should have noticed where the gardeners themselves walk. Their routes are usually the ones that do the least harm. If a path is narrow, decide where the tripod will go before you extend the legs — not after, with one foot already in the lavender.
The best vantage point in a historic garden is almost never the one that requires you to leave the path.
Compose with the garden's own lines
Historic Italian gardens are unusually generous to photographers because they are already composed. Use what is there: the axis of a gravel path running to a fountain, the repetition of lemon pots along a balustrade, the frame of an arch or a gateway opening onto a borrowed view of cypress and hill.
A longer lens compresses a parterre beautifully and keeps you on the terrace. Look for the verticals of cypress set against the horizontals of walls, and watch your level: gardens built on slopes will fool you, though a still fountain basin or a line of steps gives you a reliable true horizontal.
Two restraints are worth practising. First, do not step into a bed for a better angle — not one foot, not for a second, and not on the assumption that bare soil recovers. Second, be considerate with people. Ask before photographing visitors close up, and keep faces of children out of your frames unless a parent has agreed.
Photograph stonework without touching it
This is where most accidental damage happens, and it rarely feels like damage at the time. Fingers carry oils, sunscreen and insect repellent, all of which can mark porous stone and tufa. Rubbing a patch of lichen to see its colour removes something that took decades to grow. Pouring water over dry stone to bring out the texture is a genuinely bad idea: it can drive salts through the surface and cause flaking.
So keep your hands off the fabric. Do not brush dust from an inscription, do not lean on a balustrade to steady yourself — some are decorative rather than structural, and many are weaker than they look. Keep camera bags off low walls, where a metal buckle can chip stucco or a corner of marble. Do not move pots, statues, benches or garden furniture to clean up a frame; work around them or come back when the light is different.
Tripod feet belong on gravel or bare path, not in moss or on stone. If you must rest a camera on a wall, put something soft underneath and only where staff permit it. Beanbags are kinder than clamps.
Know what is permitted before you set up
Rules vary enormously from one site to the next, and they often have little to do with how famous the garden is. Some villas welcome photography but not tripods. Some ask for permission for wedding or portrait sessions. Drones are commonly restricted, and flash may be limited inside grottoes or small rooms. Ask at the ticket office rather than guessing, and ask early, before you have committed to a position.
- Is photography allowed throughout, or are some areas — interiors, private apartments, conservation zones — excluded?
- Are tripods, monopods or large bags permitted, and is there anywhere they must be left?
- Is flash restricted, particularly in enclosed or painted spaces?
- Do you need a permit for commercial use, publication, or a posed portrait session?
- Are there time restrictions around opening, closing, or staff maintenance work?
If you intend to publish or sell the images, confirm the position with the site in writing before the visit rather than after. It takes one email and saves an awkward conversation.
The checklist itself
Run through this before each frame. It takes about ten seconds and prevents nearly every problem.
- Light: is the sun where I want it, or am I shooting into a blown-out highlight?
- Feet: am I on a path, on firm ground, clear of beds, irrigation and worn steps?
- Hands: is anything of mine resting on stone, and is my bag off the wall?
- Frame: have I avoided an angle that would tempt me — or the next visitor — off the path?
- Permission: am I within the rules for tripods, flash and people?
- Exit: do I know exactly where I put my feet on the way out, in the same places I came in?
Leaving the garden as you found it
Before you go, walk back the way you came and look down. Lens caps, elastic bands and lens cloths end up in borders more often than anyone admits. If you notice damage — a cracked step, a fallen branch, a path washing out — mention it to staff rather than trying to fix it yourself; they will know what can be touched.
Then put the camera down for five minutes and sit somewhere permitted. The last thing you photograph is rarely the best thing you saw, and a garden is not a set. It is a long, patient agreement between stone, water and whoever keeps clipping the hedge. Photograph it as a guest, and you will come home with pictures that show the place rather than your footprint on it.