You do not need a degree in conservation to read a historic Italian building. You need patience, a hand for texture, and the habit of asking one question at every wall: which part of this was here first?
Stand in front of a thirteenth-century church facade in Umbria, or a townhouse in Puglia whose ground floor is older than its top, and the surface is rarely of one moment. It is a record of decisions — some confident, some hurried, some made three centuries apart by people who never met. Learning to follow that record is one of the quiet pleasures of travelling in Italy, and it changes what you notice.
Start with the whole, then move in
Before inspecting a single stone, step back far enough to see the full wall. Morning and late afternoon are the best hours, when sunlight rakes across the surface at a low angle. Raking light exaggerates relief: a patch of repointing that looks invisible at noon will show as a faint grid of shadow at six in the evening.
Scan for vertical lines first — long, straight, unbroken ones especially. Then look for horizontal bands where the texture changes. Most building phases announce themselves as a rectangle, because that is the shape of an addition. Only after that is it worth walking up close.
Reading the stone itself
Until the railway made heavy freight cheap, Italian builders used what was under their feet. Pietra serena in Florence, tufa across Lazio, the soft pale pietra leccese in the Salento, Istrian stone along the Adriatic coast. A stone that does not match its neighbours is either a later import or a reused fragment, and both are worth a second look.
Tool marks are the most reliable detail at close range. Traditionally dressed blocks carry the fine diagonal or crosshatched pattern left by a chisel — uneven, slightly scalloped, following the grain of the stone. Modern replacement stone is usually sawn: flat, faintly striped, with edges cut too cleanly. Look at the arris, the sharp line where two faces meet. Old arrises are usually softened by centuries of weather; new ones cut like a blade.
Coursing tells a similar story. Medieval and Renaissance walls are often irregular in bed height, with small chips packed into the gaps. Later infill tends to be more uniform, and modern infill is often almost perfectly level. Reused Roman fragments — a column drum, a carved block set in upside down, an inscription nobody could read — are a signature of earlier medieval work, when the nearest ruin was the cheapest quarry.
Mortar is the loudest clue
If you learn one skill, learn this one. Traditional Italian masonry is bedded in lime mortar: soft, sandy, creamy or off-white, sometimes pinkish, and slightly crumbly at the surface. Cement mortar, which spread through Italian repairs from the mid-twentieth century onward, is grey, hard, and dense. On a discreet area you can sometimes feel the difference with a fingernail. Lime gives; cement does not.
Colour is helpful but not decisive. What matters more is the joint: the strip of mortar between two stones. Historic joints are often wide, slightly recessed, and irregular in width. Modern repointing is frequently razor-straight, proud of the stone face, and either sponged smooth or pressed with a jointer to leave a hard, uniform profile.
Why this matters beyond aesthetics
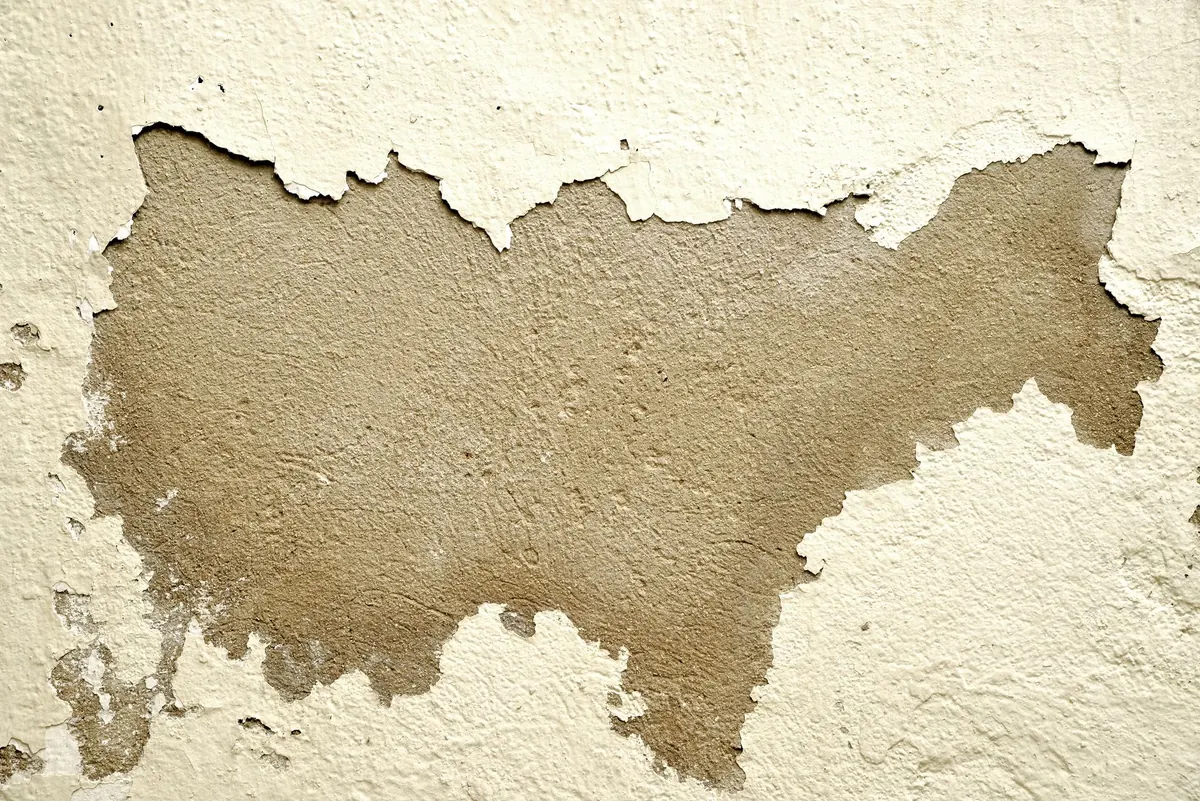
Cement pointing on a soft stone wall is not a neutral repair. Cement is harder and far less permeable than lime, so rainwater that enters the wall cannot evaporate through the joint and instead drives out through the stone face. The result is spalling — flakes and chunks of the historic stone breaking away — plus white salt bloom on the surface. If you see a wall with crisp grey joints and crumbling stone, you are looking at a repair that is quietly damaging the thing it was meant to protect.
Seams, scars, and blocked openings
The most useful thing to hunt for is a straight joint: a continuous vertical line of mortar running through a wall. In properly bonded masonry, stones interlock across the wall and no single line can travel far. A joint that runs clean from ground to eaves almost always marks a butt joint, where a later wall was built hard against an earlier one.
Then look for the ghosts:
- Blocked openings. A door or window filled in with masonry of a different colour, or a faint arch of stones still visible above the infill.
- Raising. A band of different stonework near the top of a wall, sometimes with a change in wall thickness, marking a storey added later.
- Scaffolding holes. Rows of small square sockets for putlog poles. If the rows stop abruptly partway up, the wall probably stopped there too.
- Corner stones. Dressed quoins at a building corner. If their size or finish changes partway up, so did the building campaign.
- Cut windows. Later openings have straight, hard-cut reveals. Older ones are more likely to be splayed, with a stone sill worn into a shallow dish by centuries of rain.
What restoration choices look like
Modern Italian conservation works on a few firm principles: intervene as little as possible, use materials compatible with the original, and make the work reversible so a future generation can undo it. Good practice also tends to make new work legible — visible as new to anyone who looks, without shouting.
So on a well-restored facade you may see replacement stone that is close in colour but not identical, joints tooled to match the historic profile and filled with a lime-based mortar, and repaired cracks stitched with the technique known as cuci e scuci — cut out and sew back — where damaged blocks are lifted and replaced rather than patched with resin. Metal staples set into cracked stones are not necessarily modern either; iron and bronze ties have been used for centuries.
Signs of the hurried job
Less happy interventions are usually easy to spot: cement-rich pointing, resin fills that are too smooth and too grey, silicone sealing joints that should breathe, slabs of uniform new stone with paper-thin joints, and the regular swirl of an angle grinder where a surface has been over-cleaned. Some of this may be decades old and perfectly well intentioned. Restoration is not a moral test — it is a record of what was known, and afforded, at the time.
A short field checklist
- View the whole facade in low, raking light before going close.
- Mark every long vertical line and every horizontal change in texture.
- Identify the stone and check whether it belongs to the region.
- Look at tool marks and arrises for old dressing versus modern sawing.
- Test the joint by eye, not by hand: lime is soft and sandy, cement is hard and grey.
- Hunt for blocked openings, scaffolding holes and changes in the corner stones.
- Decide, for each patch, whether the repair was trying to hide or to explain itself.
How to look on your next walk
Pick one building rather than ten. Walk past it three times: once in the morning, once in the late afternoon, and once from across the street with binoculars. Look at the top, where most people never raise their eyes — the roof line is where phases pile up. Photograph wall textures close enough that the joints fill the frame, and jot down what you think happened before you read anyone else's account.
If a building is publicly accessible, the parish or commune notice board often lists past works, and local guides usually know which facade was rebuilt after the war. Ask. Reading a wall is guesswork refined by curiosity, and the pleasure is in the looking, not in being right.
Photo: Moussa Idrissi / Pexels